

Get our free newsletter about Italy, travel and style. Get updates, news and articles straight to your inbox. Subscribe.
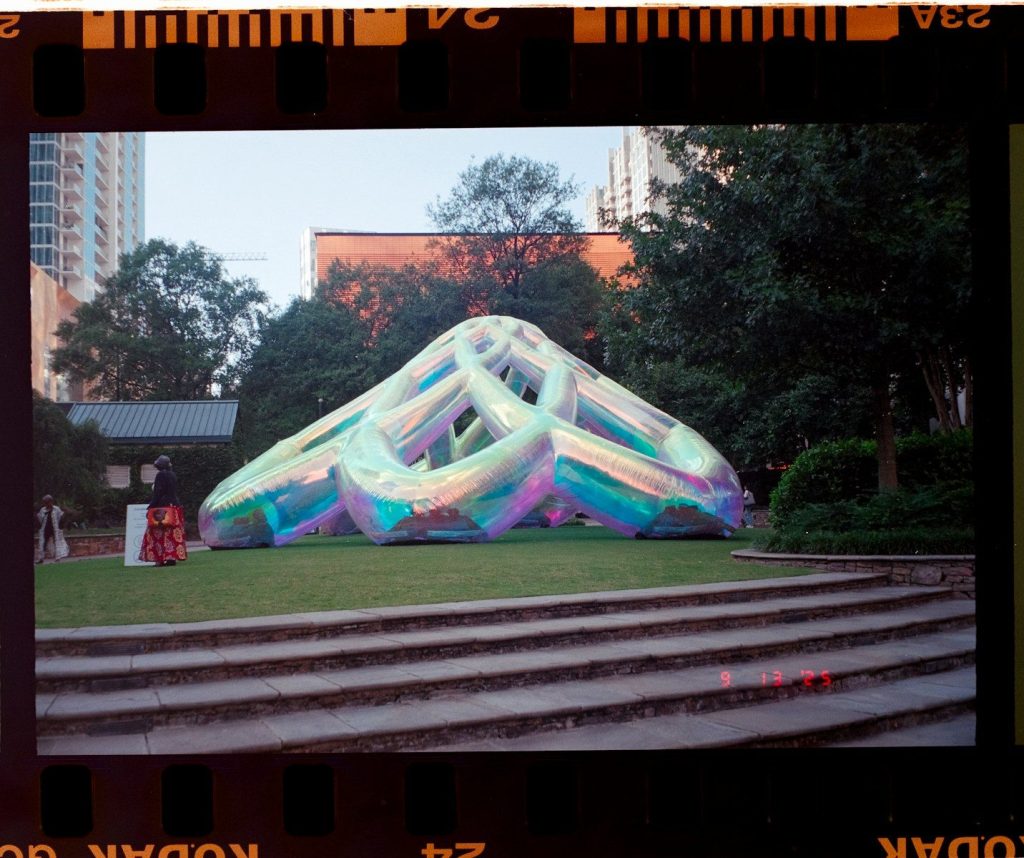
The custom inflatable has moved away from bouncy castles and giant pandas to a new design and esthetic medium used in art and fashion. New materials and technologies are being used to make stunning sculptures and iconic statements.
In this article
What Is the Process Behind Creating a Custom Inflatable From Concept to Installation?
You've seen them at festivals, brand activations, and corporate events: giant inflatable logos, larger-than-life product replicas, eye-catching arch structures that stop people mid-stride. But most people have no clue how much thought, coordination, and craftsmanship actually goes into building one. The process behind creating a custom inflatable from concept to installation is more structured than it looks from the outside, involving a clear sequence of steps that starts with a creative brief and ends with a fully assembled piece ready for its debut. Whether you're planning a one-time event or a recurring campaign, understanding each phase helps you set realistic timelines, avoid costly revisions, and walk away with a finished product that actually matches what you imagined.
From Idea to Approved Design
The first step in the process behind creating a custom inflatable from concept to installation is translating your idea into a workable design. Many buyers, when they start researching custom inflatables for events, discover that the design phase takes far longer than they anticipated, especially if the concept involves complex geometry, multiple colors, or brand-specific shapes. Skipping straight to production without a fully approved design is one of the most common reasons projects blow past budget and deadline. Before the design team can begin, they need precise visual references from you: brand guidelines, logo files in vector format, preferred dimensions, and details about the intended display environment. Indoor setups have different structural demands than outdoor ones; a design that looks perfect on screen might need real adjustment once the technical team models it in three dimensions.
How to Write a Brief That Gets Results
Your brief is the foundation of everything that follows. A strong brief doesn't just describe what you want – it tells the design team what the inflatable needs to accomplish. Specify the setting where it will appear, the distance from which most viewers will see it, and whether it needs to be repositioned frequently. If your inflatable must match a Pantone color exactly for brand compliance, say so upfront. The more precise you are at this stage, the fewer revision rounds you'll need later. Most experienced producers offer a free initial mockup after receiving your brief, giving you a rough visual to react to before any production costs start accumulating. Use that first mockup as a starting point for a real conversation – not a final approval. Note what feels off about the proportions or the color treatment, and give the design team specific feedback rather than vague direction like “make it pop more.”
Mockup Approval and Final Sign-Off
After revisions, you'll receive a finalized digital rendering. This is your last real chance to catch issues before the production team cuts and sews the actual materials. Look at it carefully in context; if the design team can place it against a photo of your event venue or booth space, request that. Check that any text reads clearly at the intended viewing distance and that the scale feels right relative to the surroundings. Once you sign off, production begins, and changes at that point typically carry both additional costs and time penalties. Some producers will also supply a physical material swatch at this stage so you can feel the fabric weight and finish before it becomes part of your inflatable.

Production and Installation
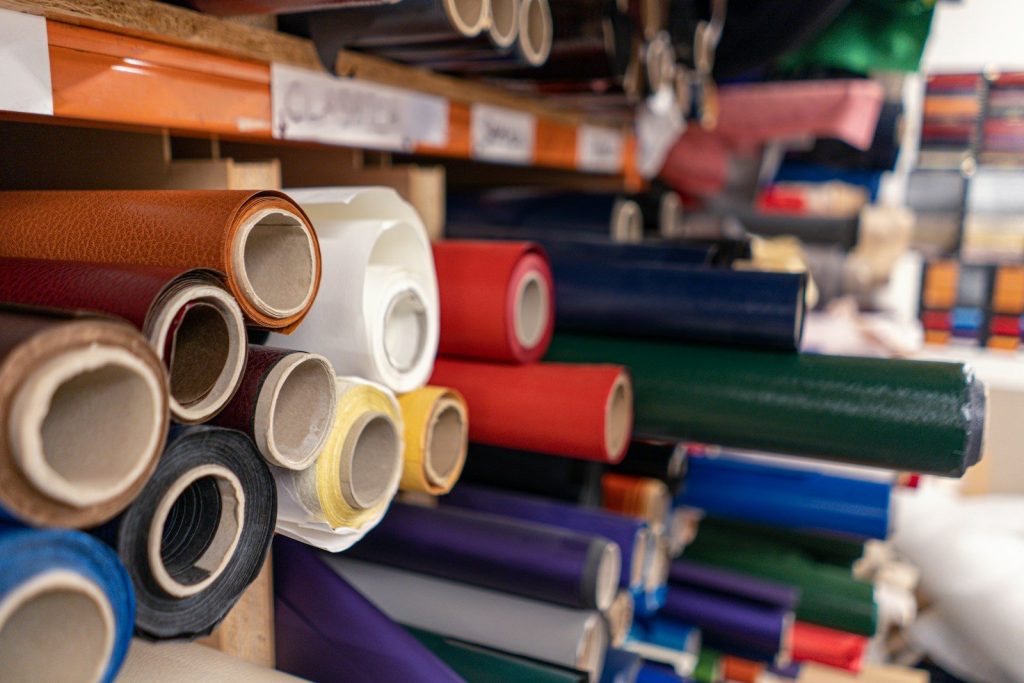
Once the design has full approval, the work shifts to the production floor. This is where the custom inflatable takes physical shape, and the choices made here determine how well the finished piece holds up over its intended lifespan. The production team selects materials based on your use case: heavy-duty commercial vinyl for outdoor advertising inflatables, lighter laminated nylon for display arches that get packed and unpacked repeatedly. Seams get heat-welded or stitched depending on the inflation pressure the structure needs to hold; blowers, pressure valves, and tethering points all get integrated during this stage as well. Most reputable producers run air tests at the end of the build to confirm the structure holds pressure, maintains its shape, and shows no weak points along the seams.
Material Selection and Build Quality
Honestly, the material your inflatable uses matters more than most buyers expect. Standard PVC is affordable and widely available, but it can crack in cold temperatures and degrade faster under prolonged UV exposure. Reinforced nylon and polyester blends last longer outdoors and pack down lighter for transport. If environmental responsibility is part of your brand's positioning, some producers now offer eco-friendly fabric options that cut the carbon impact of the finished product without sacrificing structural integrity. The stitching or welding method affects longevity just as much. Double-stitched seams with reinforced tape along stress points hold up far better than single-pass construction, especially on inflatables that get inflated and deflated many times across a campaign season. Ask your producer to specify the seam construction method before you sign off on production. It's a small question that can save a big headache down the road.
Shipping, Setup, and Final Installation
Delivery timelines vary based on the size and specifications of the finished piece. Most custom inflatables ship rolled or folded in protective bags, arriving ready to inflate on-site. When your shipment arrives, inspect it immediately before signing for delivery; check for stress marks, punctures, or uneven seams that might have occurred in transit. Setup typically requires a flat, clean surface, the correct blower unit sized to the volume of the inflatable, and secure anchor points suited to the environment. Outdoor installations need weighted bags or ground stakes to prevent movement in wind. Indoor setups might rely on sandbag anchors or structural attachment points, depending on the venue's rules. And once inflated and anchored, a final walk-around inspection helps you catch any visual inconsistencies before the event begins. From concept to installation, the full process behind creating a custom inflatable typically spans three to six weeks, depending on your specifications and revision count.
Conclusion
The process behind creating a custom inflatable from concept to installation covers more ground than most buyers expect. It starts with a precise creative brief, moves through design review and material selection, and lands with a structured on-site setup that requires its own preparation. Each phase connects directly to the next: a poorly written brief produces a weak design, a rushed approval produces an inflatable that doesn't match your vision, and skipping pre-installation checks produces problems that are very visible on event day. The trick is treating each step as genuinely important rather than a formality to push through. When you do that, the finished inflatable tends to exceed expectations; the time invested early pays off in fewer surprises and a final product you're confident deploying.
Featired image photo credit: Floatiekings
Discover more from MilanoStyle.com
Subscribe to get the latest posts sent to your email.